
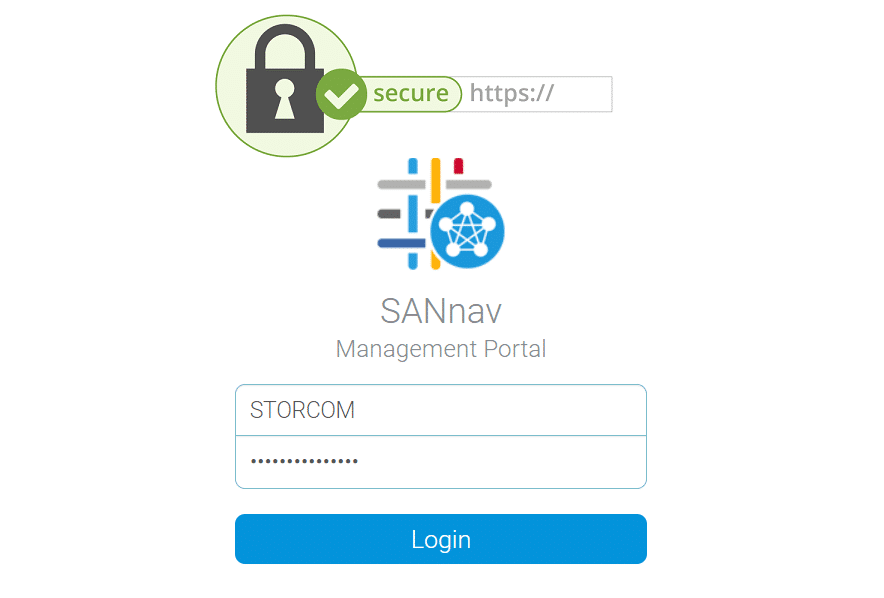
SANnav Management Portal utilizes by default a self-signed certificate, which in most cases is considered as vulnerability. Therefore, it is highly recommended to replace it by a CA signed certificate. The SSL/TLS certificate ensures that the connection between clients and the server is secure.
The replacement is done in 2 steps. First, we will create a Certificate Signing Request, which will be signed by our Certificate Authority. Then the signed certificate will be imported to the SANnav. In addition, you will also need the root and the intermediate certificates to be imported.
Make sure to read the SANNav Management Portal guide for detailed information.
Creating SANnav Certificate Signing Request
- Log in to your SANnav server (RedHat/CentOS)
- Additionally, create a new directory under /root/, you can call it /root/certificates/
cd /root
mkdir certificates
cd /root/certificates
- To start, we will create the certificate signing request (.csr)
openssl req -newkey rsa:2048 -nodes -keyout sannav.key -out sannav.csr
- Enter the certificate information regarding to your host and the company information
- Let your SANnav (sannav.csr) be signed by your Certificate Authority
At this point you would have received the signed certificate, together with the accompanying root and intermediate certificate.
Replacing the self-signed certificate
- Copy your signed certificate, together with the company’s root and the intermediate certificate to /root/certificates/
- First, we will need to merge the root and the intermediate certificate into one file. Use the following command:
cat intermediate_certificate.crt root_certificate.crt > bundleCertificate.pem
- Launch the script replace-server-cert.sh found under /<sannav-installation-directory>/bin/
- Complete the certificate file paths as requested by the wizard:
– Enter the path for the ssl certificate including file name: /root/certificates/sannav.cer
– Enter the path for the ssl key including file name: /root/certificates/sannav.key
– If you have root and intermediate CA certificates, please chain them into a single certificate file and provide the path to the file. Press enter to skip this step. /root/certificates/bundleCertificate.pem - Run the script restart-server.sh found under /<sannav-installation-directory>/bin/ to restart SANnav
- Restart your browser and you’re SANnav Management Portal will show a valid certificate.
Read here related articles about SANnav Management Portal
– Preparing RHEL / CentOS Server for SANnav
– Installing SANnav Management Portal 2.0
Any suggestion or question? Leave a reply below, or feel free to contact us.
Make sure to subscribe to our mailinglist to get the latest. No spam. Promised!


One Response