
In our previous article, we have gone through the installation steps of RHEL/CentOS, and the basic configuration of SANnav. This article will further focus on implementing the prerequisites and installing SANnav Management Portal.
Before we start, make sure to read Preparing RHEL / CentOS Server for SANnav and SANNav Management Portal guide.
Implementing prerequisites
-
- If you are not the owner of the server, make sure to have the root privileges on your Linux system.
- Uninstall other applications from your server.
- If you have previously installed Docker, uninstall it.
- ‘Ensure that the entire physical server (boot, log, and data) runs on a single partition. In my case, I have 3 partitions and an LVM but I’m using virtual disks on the underlying layer.
- Ensure that lsof and nslookup packages are installed on the server.
-
- To install, use the command:
yum install lsof, bind-utils
- The ‘umask’ for the root user must be set to 0022.
-
- By default root has already this value, if not use the following command to change it:
umask 0022
- Open /etc/security/limits.conf and add the following line at the end: elasticsearch – nofile – 65536
vi /etc/security/limits.conf
- Port 22 is by default in use for SSH. You either keep it for SSH and use it for SANNav repository or change it to another port. To change the default SSH configuration, open /etc/ssh/sshd_config, uncomment #port 22 and change it to 8022.
Restart SSHD service using the command:systemctl restart sshd
- Port 80 must also be available. If you are using a firewall in your environment, make sure to open the ports. I would recommend to disable the firewall during installation and enable it after implementing SANnav. See also firewall requirements on the guide.
- It is required to have IP forwarding enabled. You can verify using the following command:
/sbin/sysctl net.ipv4.ip_forward
To enable IP Forwarding permanently, open the /etc/sysctl.conf file and add the following lines:
# Enable IP Forwarding for SANnav
net.ipv4.ip_forward = 1 - Ensure that hostname -i resolves to an IP address. If your server is in your domain, hostname -f must resolve to an FQDN.
- Ensure that nslookup is successful when launched against other servers.
If not, verify that /etc/hosts, /etc/nsswitch.conf and that your network card interface is valid.
Installing SANnav Management Portal
I have already downloaded the .tar.gz (compressed packaged) file of SANnav. Using WinSCP I transferred it from my Windows computer to the /root/ directory of the RHEL server.
- Locate the file you downloaded and extract it using the command:
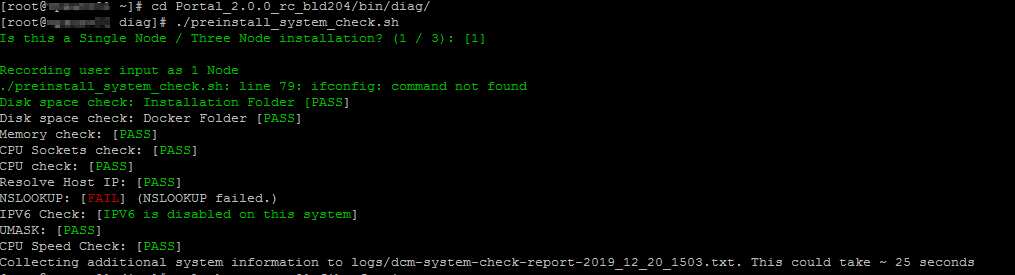
tar -xvzf Portal_2.0.0-distribution.tar.gz - Inside the /bin/diag there is a script which tests the prerequisites. Go to Portal_2.0.0_rc_bld204/bin/diag/ and launch preinstall_system_check.sh

Verify SANNav Prerequisites - On the screenshot above, the check claims that nslookup failed but it’s a false positive warning. Didn’t check further but it’s probably due to the package name having another name under RHEL. Launching nslookup commands towards my hosts works like a charm.
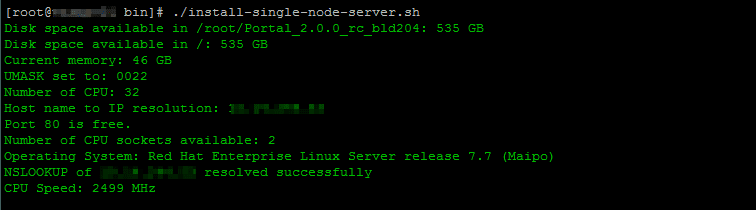
- To start the installation script, go to /<copied folder>/bin and launch install-single-node-server.sh.

Installing SANnav using the single-node installation script - On the following screen, accept the License Agreement to continue the installation.
- Once the installation of Docker is completed, the setup will proceed with SANnav installation.
- At a certain point, you are asked to select the method of communication between SANnav Management Portal and SAN Switches. If you don’t plan to use https and your switches are not configured, select 0 for http. If your switches are already using https connections, select option 1. Optionally you can also select 2 which is https then http.

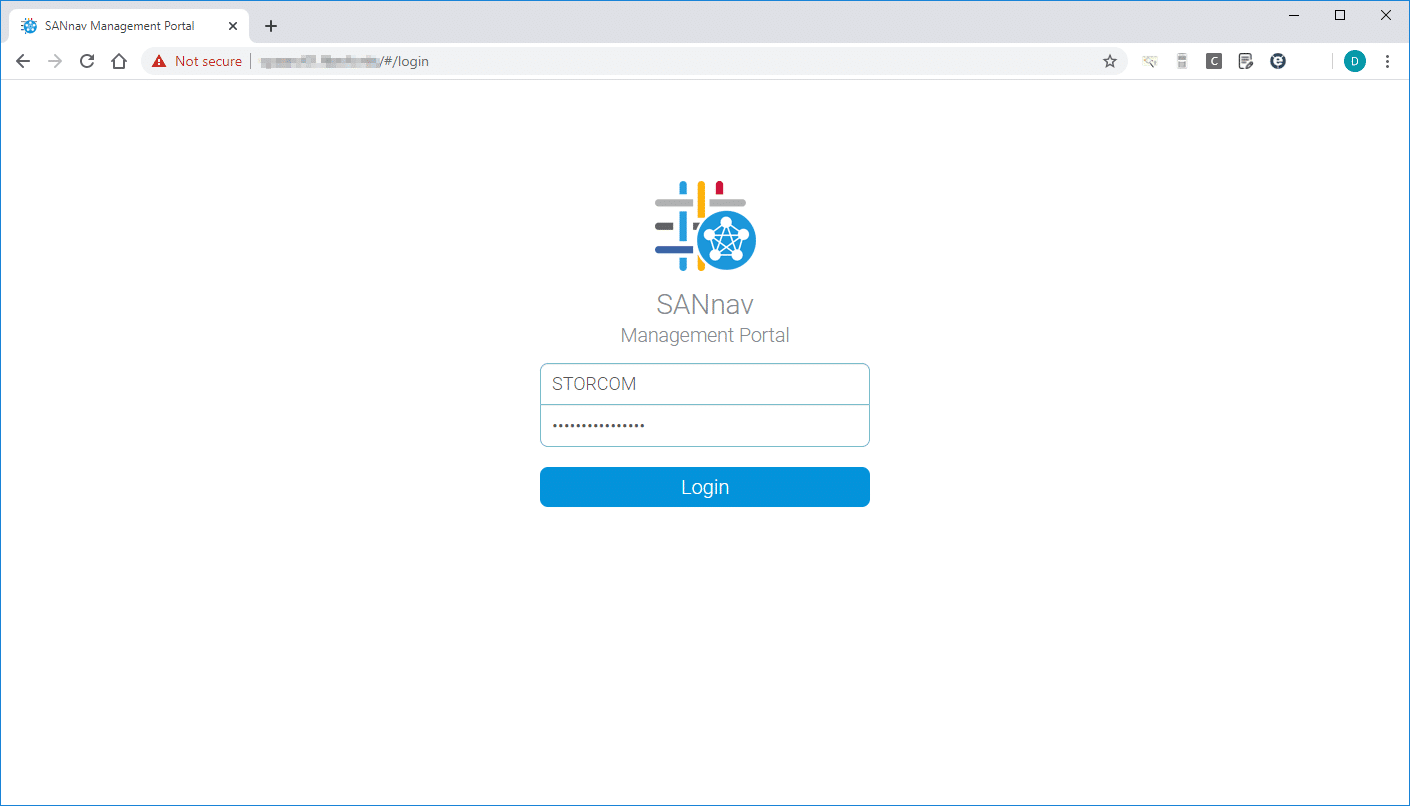
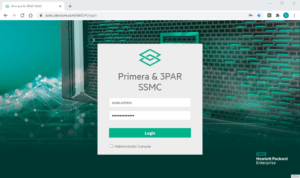
SANnav port configuration - The setup will continue for about 20 minutes. Once it has completed you can launch the client web page on http://<your sever ip>

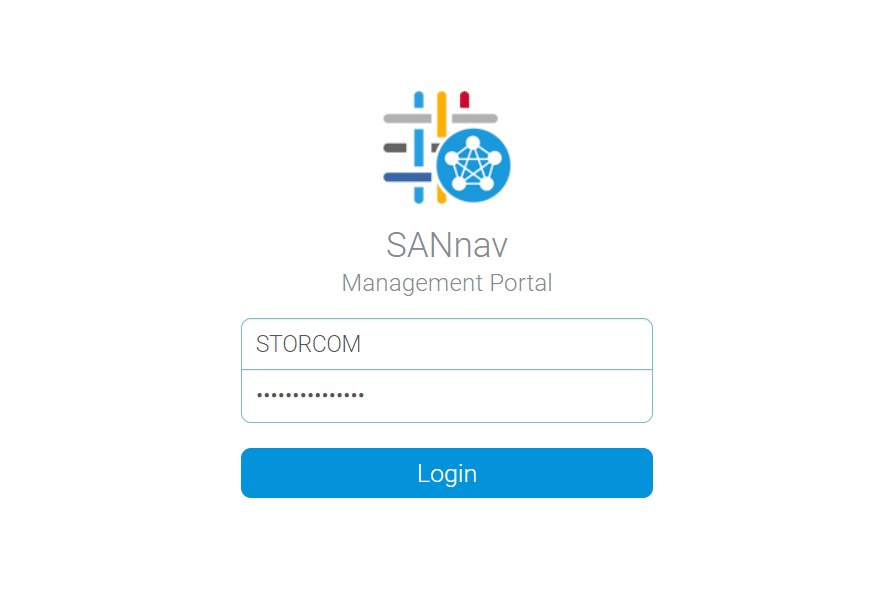
SANnav Management Portal web interface.

If you are considering to install a CA-signed certificate, make sure to follow the steps from SANnav: Installing CA signed SSL.
To enable https protocol on your Brocade switches, use the steps as described on Enable HTTPS protocol on Brocade switches.
Any suggestion or question? Leave a reply below, or contact us. Make sure to also subscribe to our mailing list.


One Response