
In our previous post we went through the process of installing SSL Certificates on 3PAR Service Processor version 4.4.x. In this article we will tackle the same steps on the newer version of Service Processor 5.x which is slightly different than the previous one. In short, we will create a new certificate file, have it signed by our Certificate Authority, combine with the root (and eventually issuing authority) and install it on the Service Processor.
A user guide of HPE 3PAR Service Processor 5.x can be found here. At the time of writing I’m using Service Processor version 5.0.9.2-29072.
Creating a Certificate File Request (.CFR)
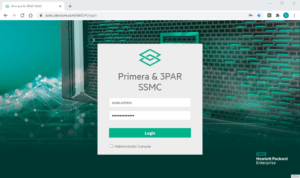
- Navigate to your Service Processor web application and log in with your admin account.
- Go to 3PAR Service Console and click on Settings
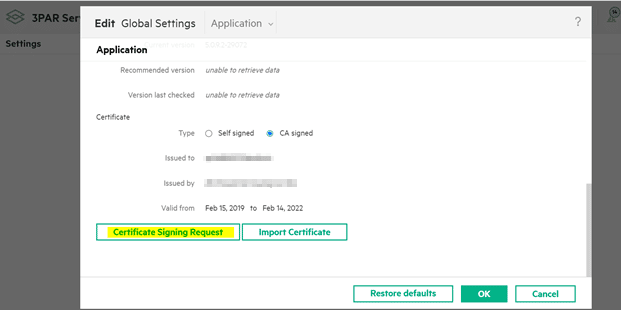
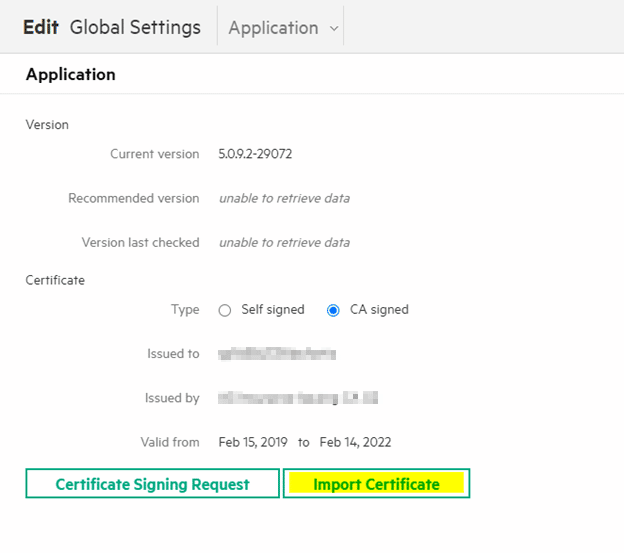
- Next to Application click on Edit
- Click on Certificate Signing Request

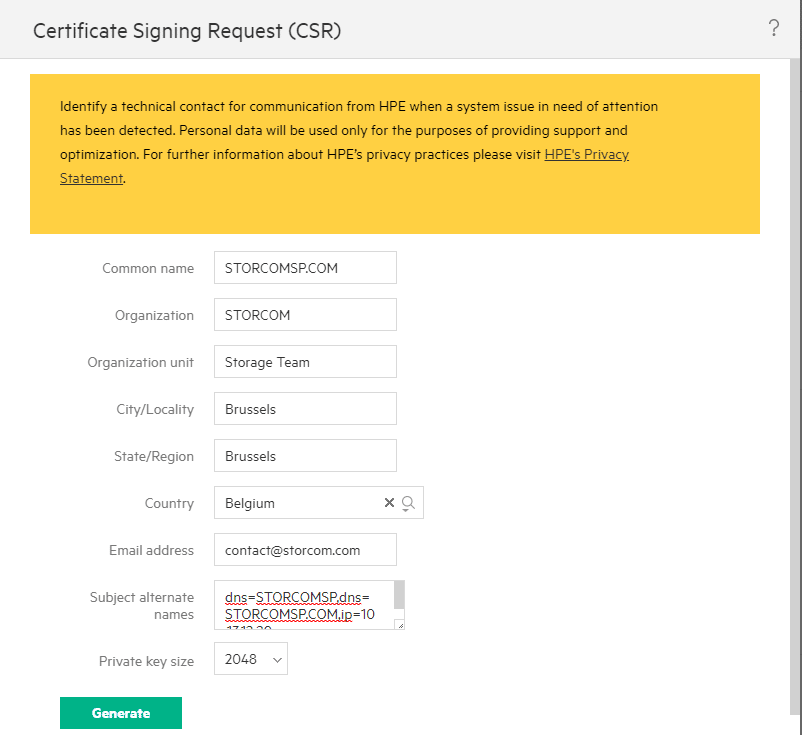
- Fill in the required information about your Service Processor appliance

- Make sure to add extra SAN’s (Subject Alternate Names) so that your browser doesn’t flag the certificate as invalid. In my case I added the following:
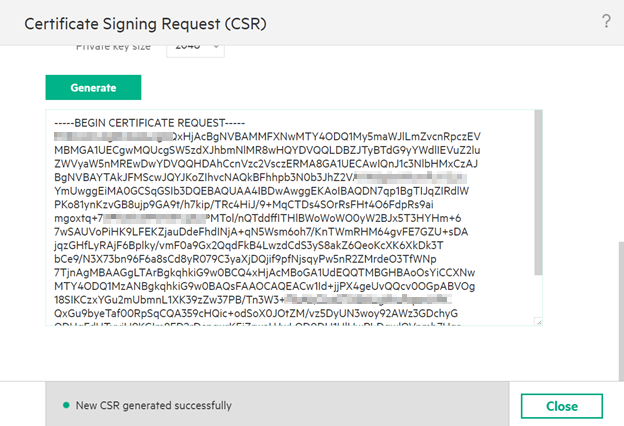
dns=STORCOMSP,dns=STORCOMSP.COM,ip=10.13.12.20 - Scroll down and click on Generate
- Copy the generated text, save it in a file and have it signed by your Certificate Authority. I usually save these kind of files as storcomsp_certrequest.csr

Importing Service Processor SSL Certificates
- Once your certificate request is signed, you will receive it back as .cer file.
- Next step is to have a combined certificate which contains the whole certificate chain. Assuming you already have the Root and the Intermediate (if available) Certificate.
- Open the signed SP certificate with a text editor and copy the content of the Intermediate and the root certificate.
- Basically your combined certificate file will look like this
-----BEGIN CERTIFICATE-----
 <SP Signed certificate>
-----END CERTIFICATE-----
-----BEGIN CERTIFICATE-----
<CA Intermediate certificate>
-----END CERTIFICATE-----
-----BEGIN CERTIFICATE-----
<CA Root certificate>
-----END CERTIFICATE----- - Save the .cer file.
- Go back to Service Processor Console, click on Settings > Application and hit Edit.
- Click on Import Certificate to start importing the CA signed file.

- Copy the content of the combined .cer file (remember you saved it in step 5.)
- Paste the copied text to the Import window and hit Import.
- OK to start rebooting the Service Processor
After completing these steps your 3PAR service processor will reboot. It might take a couple of minutes before your console will be available. If everything went well your new certificate will be effective.
Any suggestion or question? Leave a reply below, or feel free to contact us. Make sure to subscribe to our mailing list to get the latest.


3 Responses
service processor connection status failed.
Lost SP connectivity with the StoreServ.
Description: Certificate acceptance needed
Resolution:Verify the StoreServ is active on the network. If it is, then remove the StoreServ from the SP and reconnect using appropriate credentials.
I did recently update the certificate on the 3par. Nowhere do I see a screen to accept the certificate.
I have restarted the SP, the connection test fails.
Any ideas?
Had the same issue recently. Make sure to remove the disconnected 3par array from its SP then reconnect again, this way the new 3par cert will be applied / accepted.