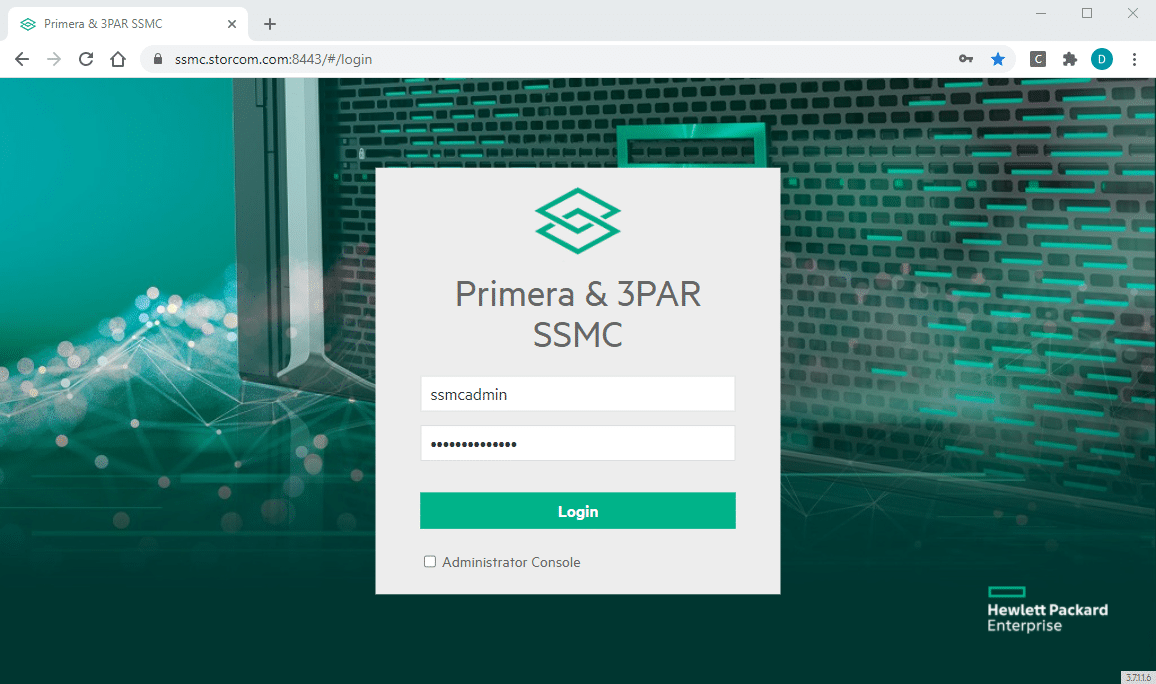
When installing SSMC by default it comes with a self-signed browser certificate. A self-signed certificate not only is unsecure, most of the browsers indicate a warning when using it. It is important to understand that there are 3 types of certificates which can be used on the SSMC appliances:
- A browser SSL certificate
- An array certificate and
- 2FA certificate
In this article we will cover the steps to replace a self-signed certificate by a custom CA-signed SSL certificate. It is also highly recommended to perform a backup or take a snapshot/checkpoint of your StoreServ Management Console (SSMC) appliance before making any changes.
Creating the Keystore and the Certificate Signing Request
- Log in to your SSMC appliance as ssmcadmin and hit Esc-key to exit the TUI menu.
- First copy the keystore file where the certificate keys are stored. The file is found under /opt/hpe/ssmc/ssmcbase/etc but as we don’t have access to create new files with ssmcadmin, we’ll copy this keystore to the home directory:
cp /opt/hpe/ssmc/ssmcbase/etc/keystore /home/ssmcadmin/keystore.orig
- Then use the keytool to create a new public and private key pair in a new keystore file. Keytool is found under: /opt/hpe/ssmc/ssmcbase/fips/jre/bin/
keytool -genkeypair -keystore keystore -alias jetty -keyalg RSA
At the prompt, set a keystore password and make sure to write it down ;).
- Next, enter the certificate information gathered as part of the prerequisites. Make sure to complete it correctly. The output looks similar to the following:
CN=<FQDN.com>, OU=<unit_name>, O=<company_name>, L=<city>, ST=<state>, C=<country>
Verify that user entered the security information correctly. Enter Yes to continue or No to edit theinformation provided - At the prompt, enter a new password for the keystore, or press Enter to use the existing keystore password.
- Generate a certificate signing request (CSR):
keytool -certreq -keystore keystore -alias jetty -file <certificate.request.txt>
- Copy the file or the content of the file and have the CSR signed by your company Certificate Authority.
Installing the new SSMC Custom Certificate
- Copy the CA-signed SSL certificate to /opt/hpe/ssmc/ssmcbase/etc
- Examine the certificates to verify that the keytool utility can read them. This ensures that they have the correct format (PEM) before adding them to the keystore.
keystore/opt/hpe/ssmc/ssmcbase/fips/jre/bin/keytool -printcert -v -file <filename>
- Accordingly copy the CA root certificate, the intermediate certificate (if it does exist), and the CA-signed machine certificate inside the keystore. Add all certificates to the same keystore in this order:
1) The CA root certificate (alias is root and not jetty):/opt/hpe/ssmc/ssmcbase/fips/jre/bin/keytool -import -alias root -keystore keystore -trustcacerts -file <RootCA.cer>
2) Any intermediate certificates (same preceding command but without –alias):
/opt/hpe/ssmc/ssmcbase/fips/jre/bin/keytool -import -keystore keystore -trustcacerts -file <IntermediateCA.cer>
3) The CA signed certificate (alias is jetty):
opt/hpe/ssmc/ssmcbase/fips/jre/bin/keytool -import -alias jetty -keystore keystore -trustcacerts -file <SignedByCA.cer>
- Update the jetty-ssl-context.xml in /opt/hpe/ssmc/ssmcbase/etc/ file with the passwords used by the new keystore
– If you have changed the default password for the keystore, update theKeyStorePassword entry to reflect the new password (indicated as KeyStorePassword).
– If you have changed the password for the private key inside the keystore, update theKeyManagerPassword to reflect the new password (indicated as KeyManagerPassword) -
To obfuscate the password use the following command:
/opt/hpe/ssmc/jre/bin/java -cp /opt/hpe/ssmc/jetty/lib/jetty-util-9.4.6.v20170531.jar org.eclipse.jetty.util.security.Password <password>
- At this point you have completed the replacement of the new SSL certificate. All you need to do is restart the SSMC appliance to reflect the custom SSMC certificate.
- Call the TUI (user interface) by entering config_appliance
- Option 2 will reboot the SSMC appliance.
- Finally, navigate to your SSMC portal and the browser should reflect the new (CA-Signed) SSL Certificate.
Any suggestion or question? Leave a reply below, or feel free to contact us. Also make sure to subscribe to our mailing list to get the latest updates.


One Response
For modern browsers validity you had to include SANS that match the CN.
To do that you had to add -ext “SAN=DNS:” to the lines:
keytool -genkeypair -keystore keystore -alias jetty -keyalg RSA
keytool -certreq -keystore keystore -alias jetty -file